It’s no secret that sometimes, the best way to make a photo look better is to remove the background. New features in Photoshop 2020 make this process simple. The feature uses artificial intelligence to help determine which parts of the image to keep and which to remove. Is never as skilled as a human editor, however, and manual background removal may be necessary using Photoshop’s range of different selection tools for complex images.
How To Remove a Background in Photoshop Quickly and Easily?
The Select Subject tool now offers a shortcut for background removal in Photoshop 2020. Even though the shortcut won’t always work, it works well for simple images, and for others, it can easily be refined. It’s a good idea to make sure you have Photoshop 2020, version 21.0.0, or later; otherwise, you’ll have to update the software.
Create the type of layer Photoshop requires by copying the background layer. On MacOS, press command + A to select all the photos. On Windows, press control + A to select all the photos. To hide the background, click on the eye icon next to the background layer in the layers panel. The new layer you just created will be the only one you can work with from now on.
Navigate to the Quick Actions section of the Properties panel on the right. The Properties Panel can be found by clicking the icon that looks like this:
Choosing Your Required Background
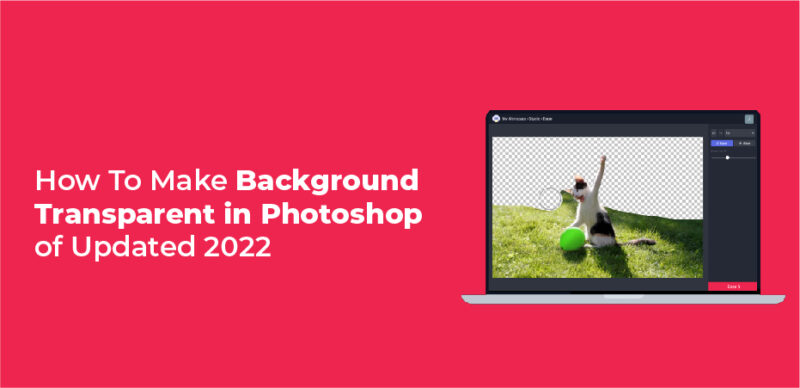
Select Remove Background from Quick Actions. The program must take several minutes to locate the subject and remove the background. When the program is finished, the subject should appear on a transparent background (as indicated by the checkerboard pattern). Verify that your background layer is hidden if you can’t see the transparent background.
With some photos, this quick method works great, but the results are laughable with others. In the event that it does not work, try the manual method below. The result can be improved by clicking the mask created automatically by Photoshop (the black-and-white image in the layers panel). Select the mask and use a white paintbrush to add to the subject, and then a black paintbrush to remove any pieces of background that have not been removed.
You can now delete the background layer and save the file as a PNG to maintain transparency or a PSD to return to it and make additional changes later.
How To Manually Make a Photoshop Background Transparent
Manually punching out the background from a photo requires selecting the entire subject and essentially “outlining” its edges to differentiate it from the background. You can use a variety of tools for this, and which one you use depends on the image you are working with and your preferences. However, before you can begin, you must unlock your background layer.
- Click “OK” in the pop-up window after opening the photo in Photoshop and highlighting Layer 0.
- To select the subject (and only the subject), you need to use whichever selection tool you prefer. There are several options here:
Object Selection Tool
Use the Rectangular Marquee tool to draw a box around the subject (or part of the subject) that you want to work on. Press the Ctrl key and then drag a box around the subject. The box will be filled with the color of the subject. After a moment, Photoshop will automatically select the part of the subject contained in the box.
Quick Selection Tool
You can use this tool to select the surrounding part of a subject, whether you’re selecting the background, the sky, or a specific object.
Magic Wand Tool
The Magic Wand is a powerful selection tool that lets you select an area based on color similarity. You can also adjust the Tolerance control to vary its sensitivity.
Lasso Tool
This tool is the third tool in the Tool palette. You can use this tool to select the subject using a freehand drawing motion.
Polygonal Lasso Tool and Magnetic Lasso Tool
The Magnetic Lasso lets you draw selections using straight lines. It will try to snap to regions of varying contrast, while the Polygonal lasso is entirely freeform.
- You’ll want to build up your selections in stages for complex subjects. You can do that by varying the selection style. New selection. Only use this mode when you’re starting to select an object.
- Every time you use a tool with this mode selected, you’ll start your selection over from scratch. Add to selection. Subtract from selection. Like the name suggests, this takes away from the current selection and is handy for correcting mistakes. This is the mode to use when you are “building” your selection – each time you use the tool, the new selection will be added to your previous selections. Add to selection. This adds to the current selection and is handy for adding new products.
- When you have selected the entire subject to your satisfaction, click “Select” in the menu and then choose “Inverse.” This flips the selection so the entire background is selected.
- Press the Delete key on your keyboard. You should now see the subject surrounded by a checkerboard pattern – that’s the transparent background. You can save the file as a Photoshop (PSD) or PNG file to preserve the transparency.
- Double-click the background layer. This brings the background layer into the Photoshop workspace. If you saved the file as a PNG file, you can see the transparent background on the layer’s right side.